
How to Clean Alloy Wheels Without Damaging Them
Why Cleaning Your Alloy Wheels the Right Way Matters
Your alloy wheels are one of the most visible parts of your car, and knowing how to clean alloy wheels safely is essential to keeping them looking sharp and lasting for years. A dirty wheel isn't just an eyesore — brake dust, road grime, tar, and the general debris kicked up on Cape Town's roads can actually damage the finish of your alloys if left unchecked. The wrong cleaning products or techniques can cause even more harm than the dirt itself.
At Speedline Mags in Parow, we see plenty of wheels that have been damaged not by potholes or kerb strikes, but by aggressive cleaning. Acid-based cleaners, stiff wire brushes, and even household detergents can strip protective coatings, etch into the alloy surface, and leave your wheels looking worse than before you started. This guide walks you through the right way to clean your alloys — whether they're diamond cut, powder coated, painted, or polished.
Understanding What's on Your Wheels
Before grabbing a sponge, it helps to understand what you're actually cleaning off. The brown or copper-coloured dust that builds up on your wheels is primarily brake dust — tiny particles of metal and friction material shed from your brake pads and discs every time you slow down. This dust is corrosive. Left sitting on an alloy surface, especially in Cape Town's coastal humidity, it will bond to the clear coat and eventually pit the metal underneath.
Beyond brake dust, your wheels collect road tar, oil, salt spray (particularly if you drive along the West Coast or through areas like Table View and Blouberg), mud, and general road grime. Each of these contaminants requires a slightly different approach, but the fundamentals remain the same: use the right products, be gentle, and clean regularly.
What You'll Need
Getting the right kit together before you start makes the whole process easier and safer. Here's what works:
pH-neutral wheel cleaner — This is the single most important product. A dedicated, pH-neutral wheel cleaner is formulated to dissolve brake dust and grime without attacking the wheel's finish. Brands available at most Builders or automotive shops in the Northern Suburbs include Meguiar's, Autoglym, and locally produced options. Avoid anything labelled as "acid-based" or "heavy duty" unless you're certain of what you're dealing with.
Soft-bristle wheel brush — Look for a brush with soft, non-scratch bristles. A dedicated wheel brush with a long handle lets you reach behind the spokes and into the barrel of the wheel. Avoid wire brushes, scouring pads, or stiff-bristle brushes entirely.
Microfibre wash mitt or cloth — For the face of the wheel, a microfibre mitt gives you control and won't scratch the surface.
Microfibre drying towel — Air drying leaves water spots, especially with Cape Town's hard water in some areas. A clean microfibre towel prevents this.
Bucket of clean water — Sounds obvious, but using a separate bucket for your wheels (not the same one you wash the body with) prevents cross-contamination with the heavier grime.
Optional: wheel sealant or wax — After cleaning, a dedicated wheel sealant creates a barrier that makes future cleaning easier and protects the finish.
Step-by-Step: How to Clean Alloy Wheels Safely
Step 1: Rinse Thoroughly First
Before applying any product, give each wheel a thorough rinse with a hose or pressure washer. This removes loose dirt, sand, and debris that would otherwise scratch the surface when you start scrubbing. If you're using a pressure washer, keep the nozzle at least 30cm from the wheel — too close and you risk damaging the clear coat or forcing water past wheel seals.
Pay attention to the area behind the spokes and around the lug nuts, where grime builds up the most. A good initial rinse does half the work for you.
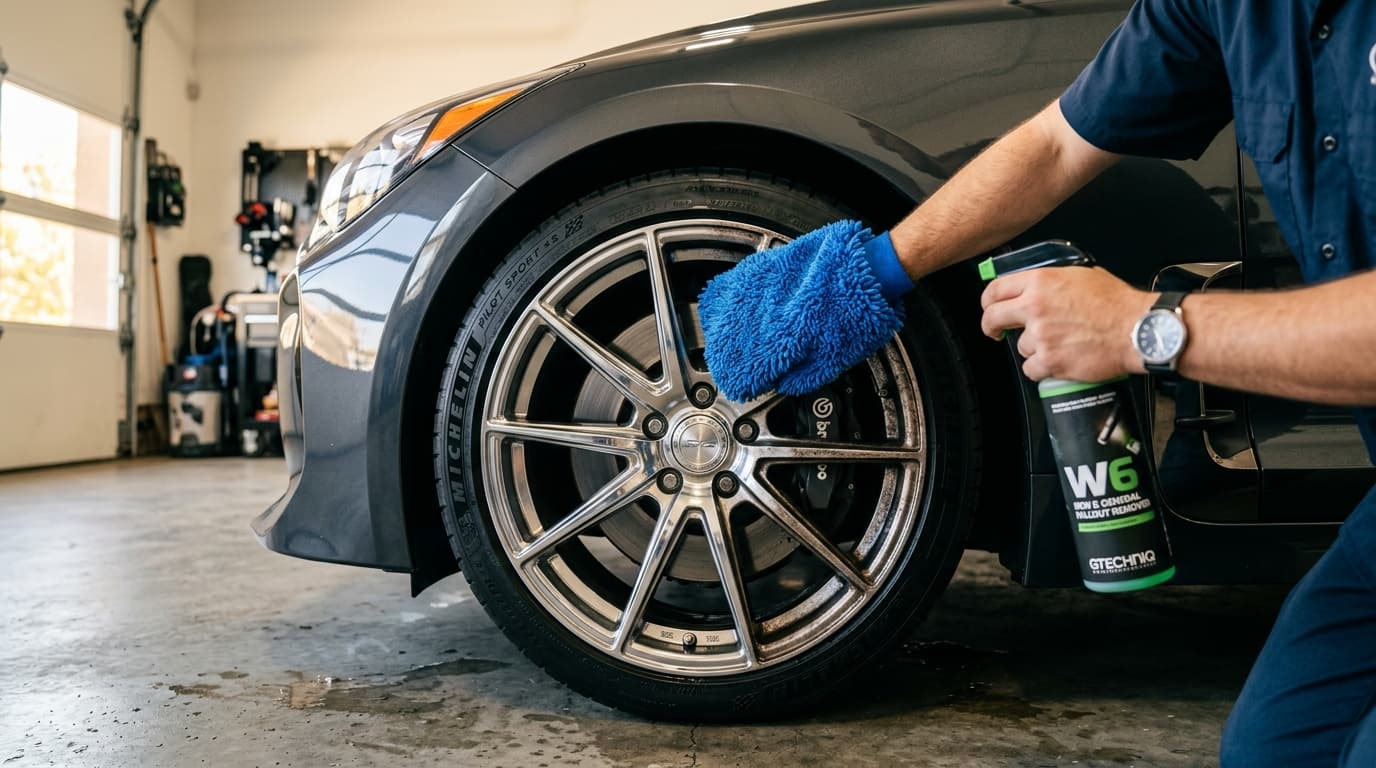
Step 2: Apply Wheel Cleaner
Spray your pH-neutral wheel cleaner generously across the entire wheel face, spokes, and rim lip. Most quality wheel cleaners are designed to be left on for a few minutes to break down brake dust — check the product instructions. Some colour-changing formulas turn purple or red as they react with iron particles in the brake dust, which is a satisfying visual indicator that the product is working.
Important: Never apply wheel cleaner to a hot wheel. If you've just been driving, wait at least 15 to 20 minutes for the brakes and wheels to cool down. Cleaning products on a hot surface can cause chemical reactions that stain or etch the alloy.
Step 3: Agitate With a Soft Brush
Once the cleaner has had time to dwell, use your soft-bristle wheel brush to gently agitate the surface. Work methodically — start from the top of the wheel and move downward so dirty runoff doesn't contaminate areas you've already cleaned. Use the brush to reach into spoke gaps, around the valve stem, and along the inner rim lip.
For tight areas between intricate spoke designs (common on BMW, Mercedes, and Audi alloys), a smaller detailing brush or even an old soft toothbrush can be useful. The goal is gentle agitation, not heavy scrubbing. Let the chemical do the heavy lifting.
Step 4: Clean the Inner Barrel
This is the step most people skip, and it's the area where the most brake dust accumulates. If your wheel design allows access, reach in with a long-handled brush and clean the inner barrel. This is where you'll find thick deposits of baked-on brake dust that can eventually cause corrosion if left untreated.
Step 5: Rinse and Inspect
Rinse the wheel thoroughly, making sure all cleaner residue is removed. Take a moment to inspect the surface. If there are stubborn spots remaining, repeat the cleaner application on those areas rather than resorting to a more aggressive product. Multiple gentle passes are always better than one harsh scrub.
Step 6: Dry Immediately
Use a clean microfibre drying towel to dry the wheel completely. This prevents water spots and gives you a chance to inspect the finish up close. If you notice any areas where the clear coat appears damaged, cloudy, or where corrosion is starting, it may be time for a professional refurbishment.
Step 7: Apply Protection (Optional but Recommended)
A wheel sealant or wheel-specific wax creates a hydrophobic barrier that repels water, brake dust, and grime. This doesn't mean you won't need to clean your wheels again, but it does mean the next clean will be significantly easier. Sealants typically last four to eight weeks depending on driving conditions.
Common Mistakes That Damage Alloy Wheels
Using Household Cleaners
Dish soap, oven cleaner, bleach, and other household products are not formulated for alloy wheels. Oven cleaner in particular is extremely caustic and will strip clear coats and damage both painted and diamond cut finishes. We've seen wheels come into our Parow workshop that have been permanently etched by a single application of the wrong household product.
Using Acid-Based Wheel Cleaners
Some cheap wheel cleaners contain hydrofluoric acid or strong acids that can dissolve brake dust quickly but also attack the wheel itself. These products are designed for professional use on bare metal and should never be used on finished alloy wheels. If a product warns you to wear chemical-resistant gloves and avoid skin contact, it's probably too aggressive for your alloys.
Scrubbing With Abrasive Materials
Steel wool, Scotch-Brite pads, stiff plastic brushes, and even some "all-purpose" car wash brushes are too abrasive for alloy wheels. They'll scratch the clear coat, leaving fine marks that trap dirt and accelerate corrosion. Once you've scratched a clear coat, the only real fix is professional repair.
Cleaning Wheels in Direct Sunlight
Cleaning in direct sunlight or on hot wheels causes the cleaner to dry too quickly, leaving residue that can stain the surface. Cape Town's summer sun is particularly intense — try to clean in the shade or during the cooler parts of the day.
Neglecting Regular Cleaning
The longer brake dust sits on your wheels, the harder it bonds to the surface and the more damage it does. A quick wash every two weeks prevents the heavy build-up that tempts people into using aggressive cleaning methods. If you drive frequently through the Northern Suburbs or on the N1, where stop-start traffic means heavy braking, you may need to clean even more often.
Cleaning Different Wheel Finishes
Not all alloy wheels are finished the same way, and each type has specific care considerations.
Painted Wheels
The most common finish on standard factory wheels. Painted wheels are relatively durable but can still be damaged by harsh chemicals. Stick to pH-neutral cleaners and soft tools. Minor paint chips should be touched up promptly to prevent corrosion from getting underneath.
Powder Coated Wheels
Powder coating creates a tough, durable finish, but it's not indestructible. Avoid abrasive tools that can scratch through the coating. pH-neutral cleaners are safe, and powder coated wheels generally hold up well to regular washing. If you notice chips or cracks in the coating, get them addressed before moisture gets in.
Diamond Cut Wheels
Diamond cut alloys have a machined, mirror-like finish protected by a thin layer of lacquer. This finish is stunning but more delicate than paint or powder coat. Harsh chemicals can attack the lacquer, and once it fails, corrosion sets in fast. Be especially gentle with diamond cut wheels — use only pH-neutral products and the softest microfibre cloths. If the lacquer is peeling or the surface is oxidising, professional diamond cut refurbishment is the only proper solution.
Polished or Chrome Wheels
Polished alloy and chrome wheels show every fingerprint and water spot. Clean them frequently, dry immediately, and consider using a dedicated metal polish periodically to maintain the shine. Chrome-specific cleaners are available and are worth the investment.
How Often Should You Clean Your Wheels?
For most drivers in Cape Town, a thorough wheel clean every two weeks is a good baseline. However, your driving conditions matter:
If you commute through heavy traffic daily (like the N1 between Bellville and the CBD), your brakes work harder and produce more dust — weekly cleaning may be better. If you live near the coast in areas like Table View or Blouberg, salt spray accelerates corrosion, so more frequent cleaning and a good sealant are important. Off-road or gravel driving (common for bakkie owners heading up the West Coast) means heavier mud and stone chip exposure.
The simple rule: if you can see visible brake dust build-up, it's time to clean.
When Cleaning Isn't Enough
Sometimes no amount of careful cleaning will restore a wheel's appearance. If you're dealing with any of the following, it's time to consider professional repair:
Heavy pitting or corrosion that has eaten through the clear coat needs to be chemically treated and refinished. Peeling lacquer on diamond cut wheels requires the wheel to be re-machined on a CNC lathe. Staining from incorrect cleaning products may have permanently etched the alloy. Kerb rash and scratches won't come out with cleaning alone — they need to be repaired and refinished.
At Speedline Mags, we offer full wheel refurbishment services including diamond cutting, powder coating, painting, and corrosion repair. We work on all makes — from VW Polo and Golf to BMW 3 Series to Toyota Hilux and everything in between.
Quick-Clean Method for Busy Weeks
Not everyone has time for a full wheel detail every fortnight. Here's a quick method that takes under five minutes per wheel and keeps things manageable between deeper cleans:
Rinse the wheel with a hose to remove loose dirt. Spray pH-neutral cleaner on the face and spokes only. Wipe with a microfibre cloth using gentle circular motions. Rinse off the cleaner. Dry with a towel. That's it. This won't get the inner barrel spotless, but it prevents brake dust from bonding to the visible surfaces and keeps your wheels looking presentable.
Protecting Your Investment
Your alloy wheels represent a significant investment — both the original purchase price and any repair or refurbishment work you've had done. A few minutes of regular, proper cleaning protects that investment far more effectively than an occasional aggressive clean. Combined with a quality wheel sealant and prompt attention to any damage from potholes or kerb strikes, your alloys can look great for years.
Get Expert Wheel Care Advice
If you're unsure about the best approach for your specific wheels, or if your alloys already need professional attention, the team at Speedline Mags is here to help. Based in Parow and serving the greater Cape Town area including Bellville, Durbanville, and the Northern Suburbs, we've been restoring wheels to factory-fresh condition for years. Contact us for a free assessment and quote — whether you need a full refurbishment or just advice on the best cleaning routine for your particular wheel finish.